World
Cities, zones, biomes, portals, and world objects
97 structured item records · 12 reference articlesBridgewatch
A Royal Continent city in the steppe biome and the home of the Bridgewatch faction.
zoneBlue Zone
The safest open-world zone type, with no hostile flagging and non-lethal faction combat.
zoneYellow Zone
A non-lethal PvP zone where hostile players can attack, but defeat normally causes a knockdown instead of full-loot death.
zoneOrange Zone
The T6 partial-loot version of the Ancient Lands, reached through portals in Yellow Zones. Defeat drops inventory items but protects equipped gear.
zoneRed Zone
A lethal Royal Continent zone with full-loot PvP, hostile flagging, reputation rules, and visible hostile-player information.
zoneBlack Zone
The Outlands' always-on, full-loot PvP ruleset, without Royal Continent hostile flagging or reputation penalties.
cityMartlock
The Royal City of the highlands biome and home of the Martlock faction.
cityThetford
The Royal City of the swamp biome and home of the Thetford faction.
cityFort Sterling
The Royal City of the mountain biome and home of the Fort Sterling faction.
cityLymhurst
The Royal City of the forest biome and home of the Lymhurst faction.
cityCaerleon
The central Royal City, surrounded by lethal regions and connected to the Black Market economy.
cityBrecilien
A city hidden in the Mists, reached after earning access through Mists exploration.
97 matching pages · 1–48 shown
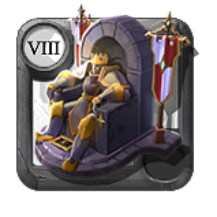 1st Place Statue - Energy Surge SeasonTier 8 · World––––––
 1st Place Statue - Season 10Tier 8 · World––––––
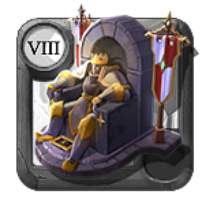 1st Place Statue - Season 11Tier 8 · World––––––
 1st Place Statue - Season 12Tier 8 · World––––––
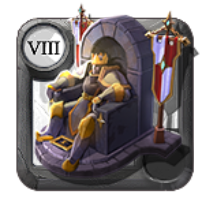 1st Place Statue - Season 13Tier 8 · World––––––
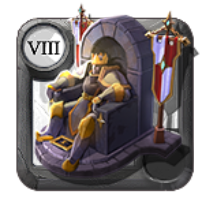 1st Place Statue - Season 14Tier 8 · World––––––
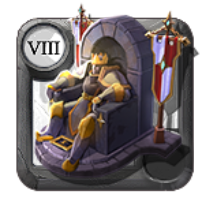 1st Place Statue - Season 15Tier 8 · World––––––
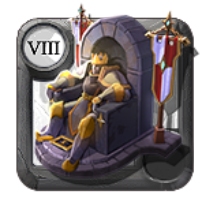 1st Place Statue - Season 16Tier 8 · World––––––
 1st Place Statue - Season 17Tier 8 · World––––––
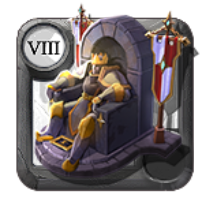 1st Place Statue - Season 18Tier 8 · World––––––
 1st Place Statue - Season 9Tier 8 · World––––––
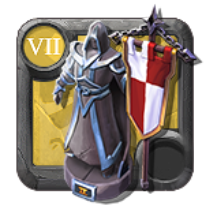 2nd Place Statue - Energy Surge SeasonTier 7 · World––––––
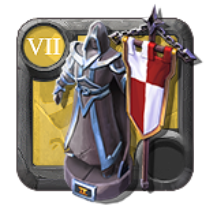 2nd Place Statue - Season 10Tier 7 · World––––––
 2nd Place Statue - Season 11Tier 7 · World––––––
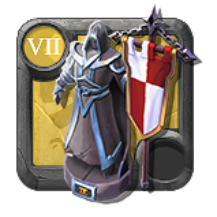 2nd Place Statue - Season 12Tier 7 · World––––––
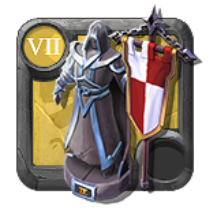 2nd Place Statue - Season 13Tier 7 · World––––––
 2nd Place Statue - Season 14Tier 7 · World––––––
 2nd Place Statue - Season 15Tier 7 · World––––––
 2nd Place Statue - Season 16Tier 7 · World––––––
 2nd Place Statue - Season 17Tier 7 · World––––––
 2nd Place Statue - Season 18Tier 7 · World––––––
 2nd Place Statue - Season 9Tier 7 · World––––––
 3rd Place Statue - Energy Surge SeasonTier 6 · World––––––
 3rd Place Statue - Season 10Tier 6 · World––––––
 3rd Place Statue - Season 11Tier 6 · World––––––
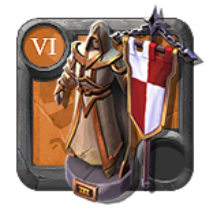 3rd Place Statue - Season 12Tier 6 · World––––––
 3rd Place Statue - Season 13Tier 6 · World––––––
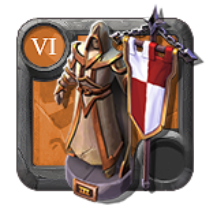 3rd Place Statue - Season 14Tier 6 · World––––––
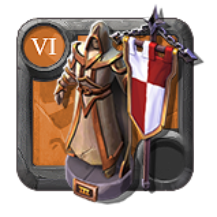 3rd Place Statue - Season 15Tier 6 · World––––––
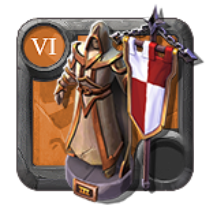 3rd Place Statue - Season 16Tier 6 · World––––––
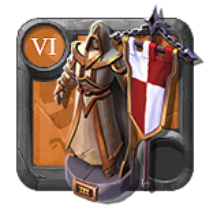 3rd Place Statue - Season 17Tier 6 · World––––––
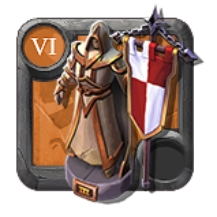 3rd Place Statue - Season 18Tier 6 · World––––––
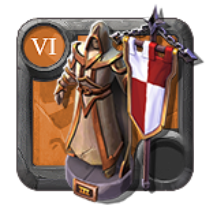 3rd Place Statue - Season 9Tier 6 · World––––––
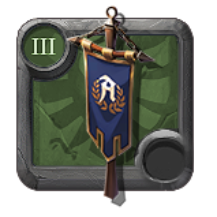 Anniversary Banner - BlueTier 3 · World––––––
 Anniversary Banner - Light BlueTier 3 · World––––––
 Anniversary Banner - Light GreenTier 3 · World––––––
 Anniversary Banner - OrangeTier 3 · World––––––
 Anniversary Banner - PurpleTier 3 · World––––––
 Anniversary Banner - RedTier 3 · World––––––
 Anniversary Banner - TurquoiseTier 3 · World––––––
 Anniversary Banner - WhiteTier 3 · World––––––
 Bronze Gathering StatueTier 3 · World––––––
 Bronze Monster Slayer StatueTier 3 · World––––––
 Bronze Trader StatueTier 3 · World––––––
 Caerleon RealmgateTier 7 · World––––––
 Crystal Founder's StatueTier 3 · World––––––
 Dark Founder's StatueTier 3 · World––––––
 Flambeau (Disciples of Morgana)Tier 5 · World––––––